Embroidery + DTG Printing, Aligned with Visual Positioning
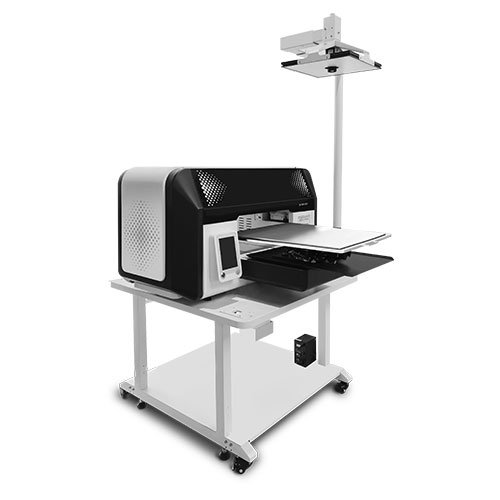
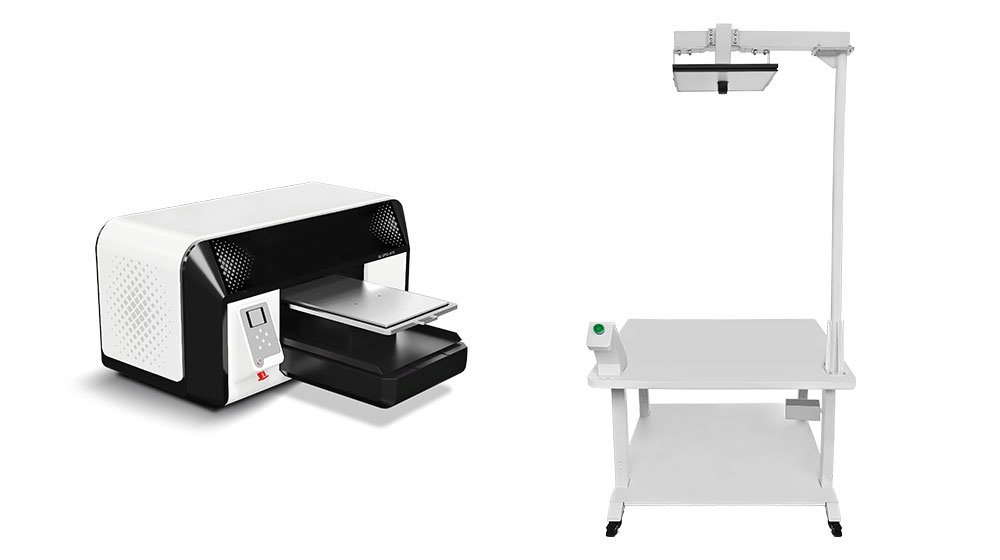
The SL-X1S combines embroidery and digital garment printing into one creative production workflow, using visual positioning technology to help align printed artwork with embroidered areas.
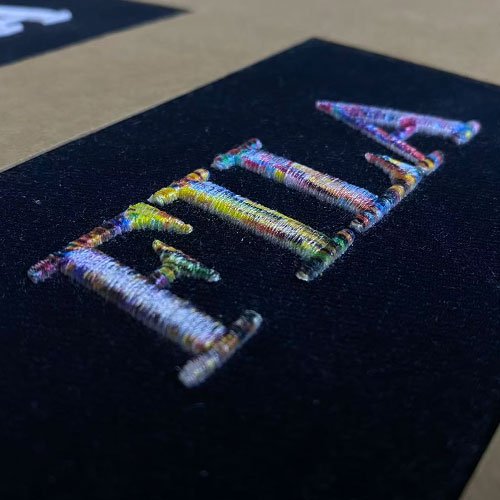
Create detailed graphics, gradients and vibrant colors over embroidery to develop apparel designs that would be difficult to achieve with thread alone.
Traditional embroidery creates texture and dimension. Digital printing adds another layer of creative freedom.With the SL-X1S visual positioning workflow, embroidered areas can become a base for detailed digital artwork—combining the tactile character of thread with the color range and graphic detail of DTG printing.This opens new possibilities for custom apparel, streetwear, fashion collections, personalized garments and short-run production.
What Is Embroidery + DTG Printing?
Texture Meets Digital Color
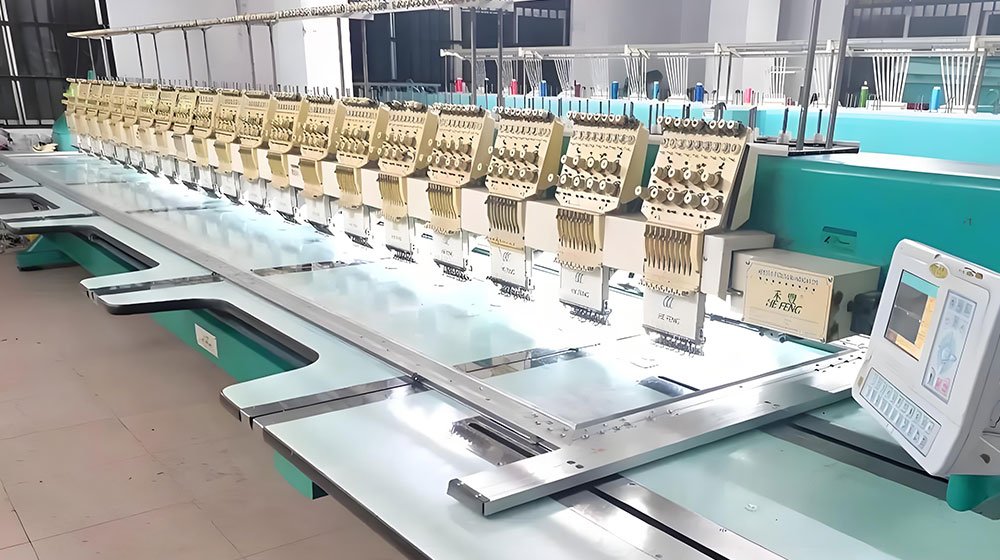
Embroidery and DTG printing are two very different decoration technologies—and that is exactly what makes the combination interesting.
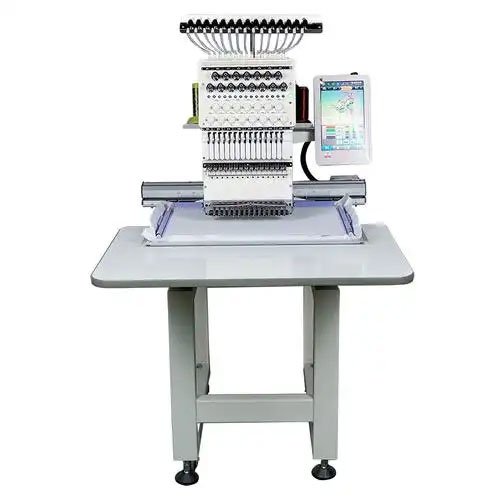
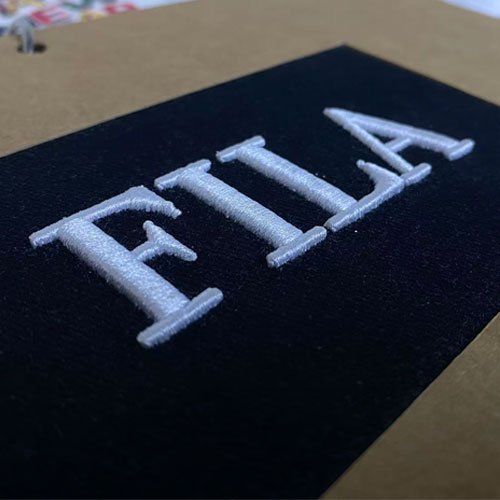
Embroidery gives a garment a physical, dimensional texture, while digital inkjet printing makes it possible to reproduce complex colors and graphic details.
By combining the two processes, apparel decorators can build designs with both visual depth and digital color flexibility.
How Does Embroidery Printing Work?
Step 1
Create the Embroidery Base
Prepare the garment with the required embroidered design.
Use the embroidery as a textured foundation for the final artwork.
Step 2
Prepare Your Print Artwork
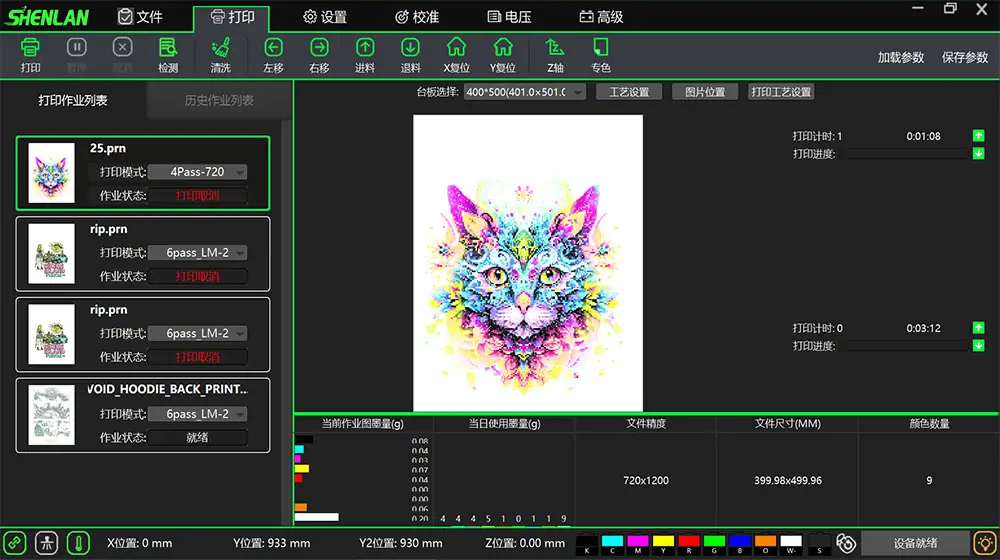
Create the digital graphic that will be combined with the embroidered section.
Prepare the artwork according to your desired final visual effect.
Step 3
Position & Print with SL-X1S
Load the decorated garment onto the printing platform.
Use the SL-X1S visual positioning workflow to position the artwork for the required printing area, then produce the digital print.
Step 4
Cure & Finish
After printing, complete the appropriate curing process according to the ink, textile and production requirements.
The result is a finished garment combining embroidery texture with digital color and graphic detail.
Create More Than Embroidery.
Create Something Different.
Combine the texture of embroidery with the creative freedom of digital garment printing.
Discover how the SL-X1S Visual Positioning DTG Printer can help expand your custom apparel capabilities.
Fill out the form for an on-site DTE X1S Printer de
Ask For A Quick Quote
We will contact you within 1 working day, please pay attention to the email with the suffix “info@shenlandigital.com”.
Ask For A Quick Quote
We will contact you within 1 working day, please pay attention to the email with the suffix “@shenlandigital.com”.